

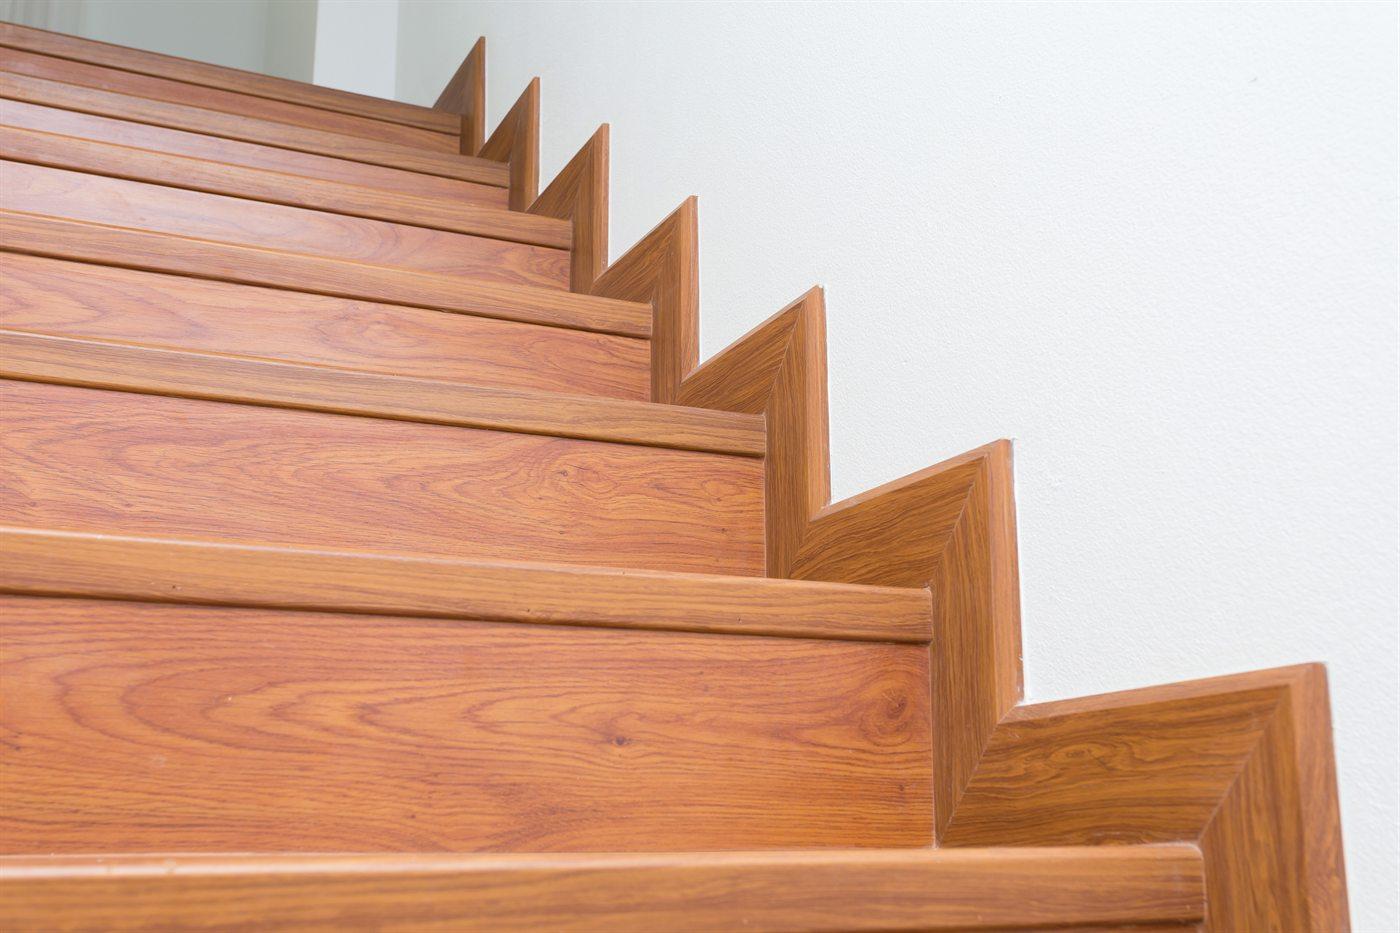
Field manuals, grouped by system.
Written at the mill for the crew that sets the parts. Each manual carries the code reference, the layout method, the fastening schedule and the troubleshooting that saves a call-back. Start with the site conditions; they are what the warranty assumes.
- Manuals
- 9 PDFs, free
- Systems
- 4 — treads, railing, trim, tops
- Basis
- AWS · IRC R311 / R312
Jobsite conditions every manual assumes
Solid hardwood moves with moisture. These six conditions are what keeps a tread flat, a rail straight and a countertop joint closed — and they are the conditions the UWP warranties are written against.
Moisture content at delivery
Solid hardwood leaves the Tanner Rd mill at 6–9% moisture content, the AWS interior range. Store it flat, off the slab, in the conditioned space.
Building conditions
HVAC running and holding 35–55% relative humidity, 60–80 °F, for at least 5 days before delivery. Wet trades — drywall, paint, tile — finished and dry.
Acclimation
Treads, wide boards and countertops: 5–7 days in the room, stickered. Trim and mouldings: 48–72 hours. Do not acclimate in a garage.
Subfloor and framing
Stringers and landing framing flat within 1/8″ over 10′. Riser faces plumb. Existing treads sound and dry before a retro-fit overlay goes on.
Adhesive and fasteners
Polyurethane construction adhesive plus mechanical fasteners on every tread; finish nails in trim at 16″ centers into framing. Fastener and adhesive schedules are in each manual.
Finishing
UWP supplies unfinished unless ordered pre-finished. Sand to 120–150 grit, seal all faces of treads and countertops, and apply the specified sheen before final fastening where the schedule allows.
Stair Treads & Risers
Solid edge-glued treads, risers and landing tread — full build over new stringers or a retro-fit overlay over an existing stair.
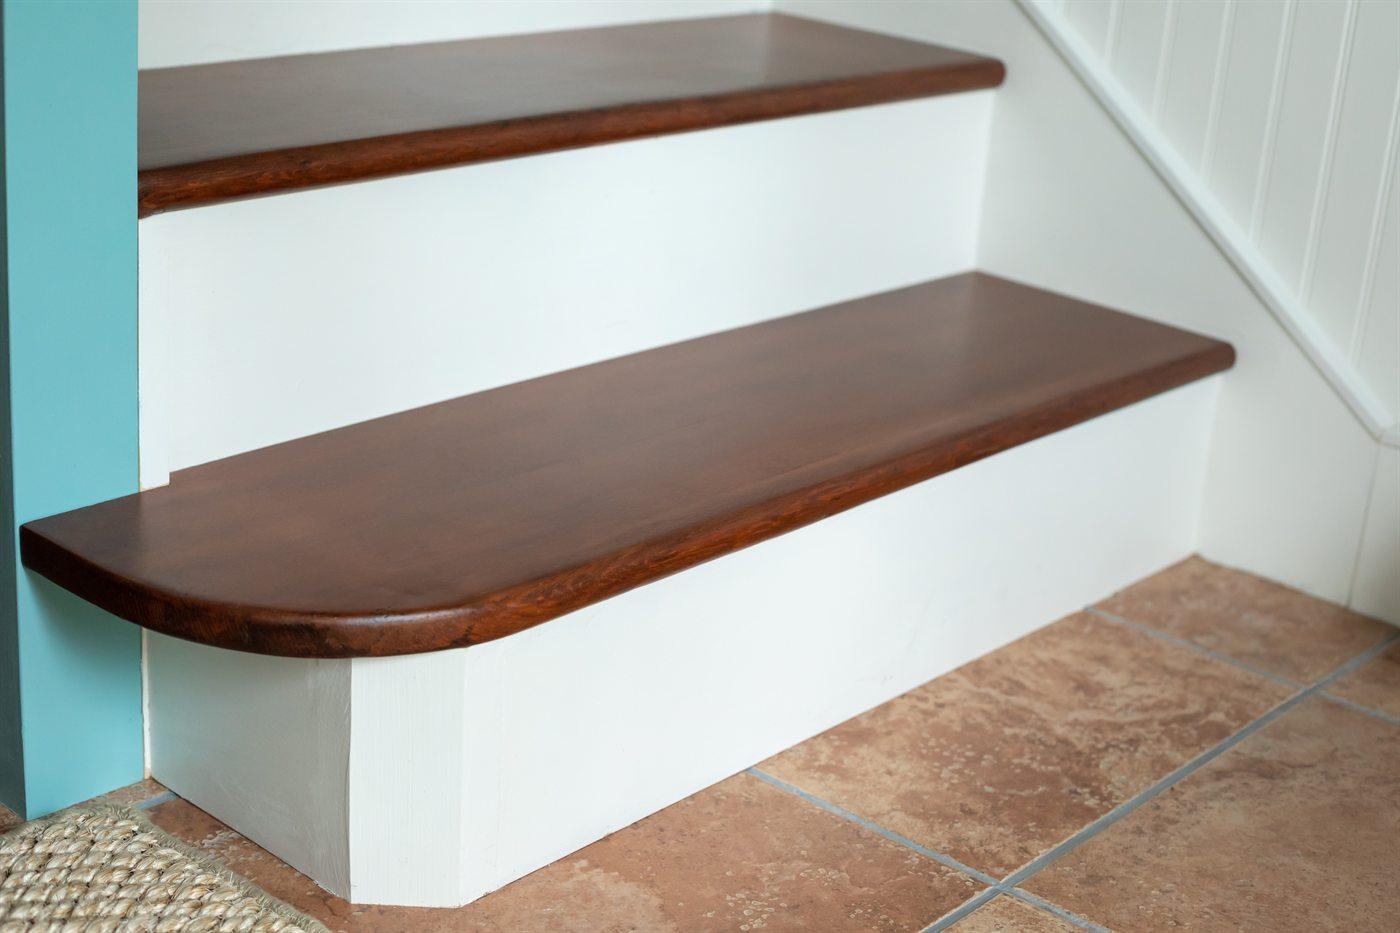
- How to install hardwood stair treads →Sequence, adhesive, fasteners and the returned end.
- Retro-Fit Tread Guide →Five field checks before you order an 8071 / 8073 overlay.
- Standard stair tread dimensions →Thickness, depth and nosing on the stocked profiles.
- How to fix squeaky stairs →Where the movement comes from and how to lock it down.
Railing Systems
Balusters, newels, handrail and fittings. Pick the system first — post-to-post or over-the-post — then the manual that matches.
 Guide + PDF
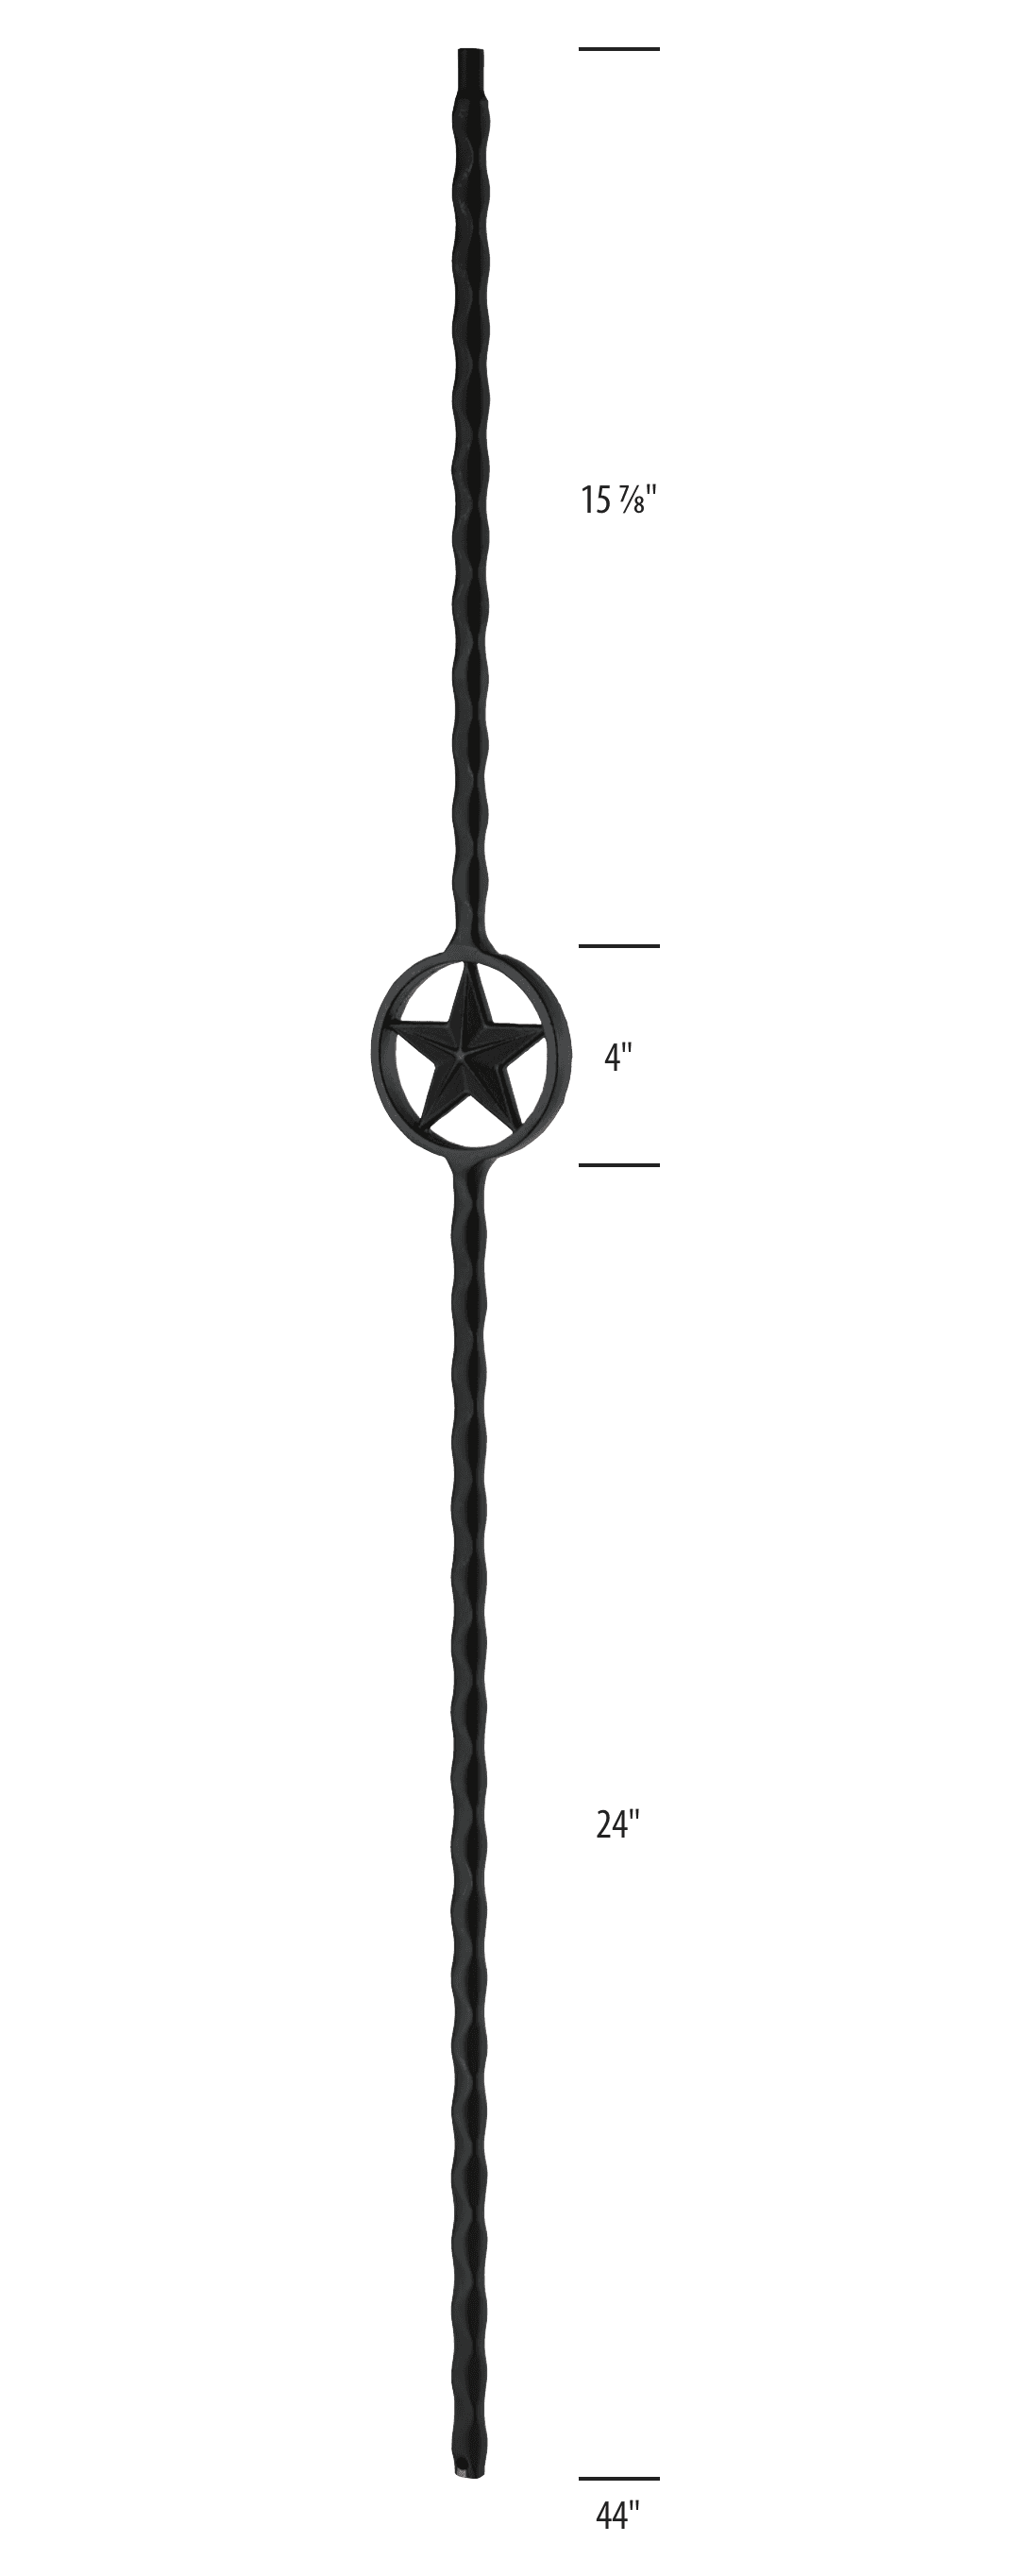
Iron Baluster Installation Guide
IRC spacing math, mortise depths, dry-fit & epoxy method, plus the flat / rake / top shoes for setting the UW M-series iron balusters stocked at Tanner Rd.
Download ↓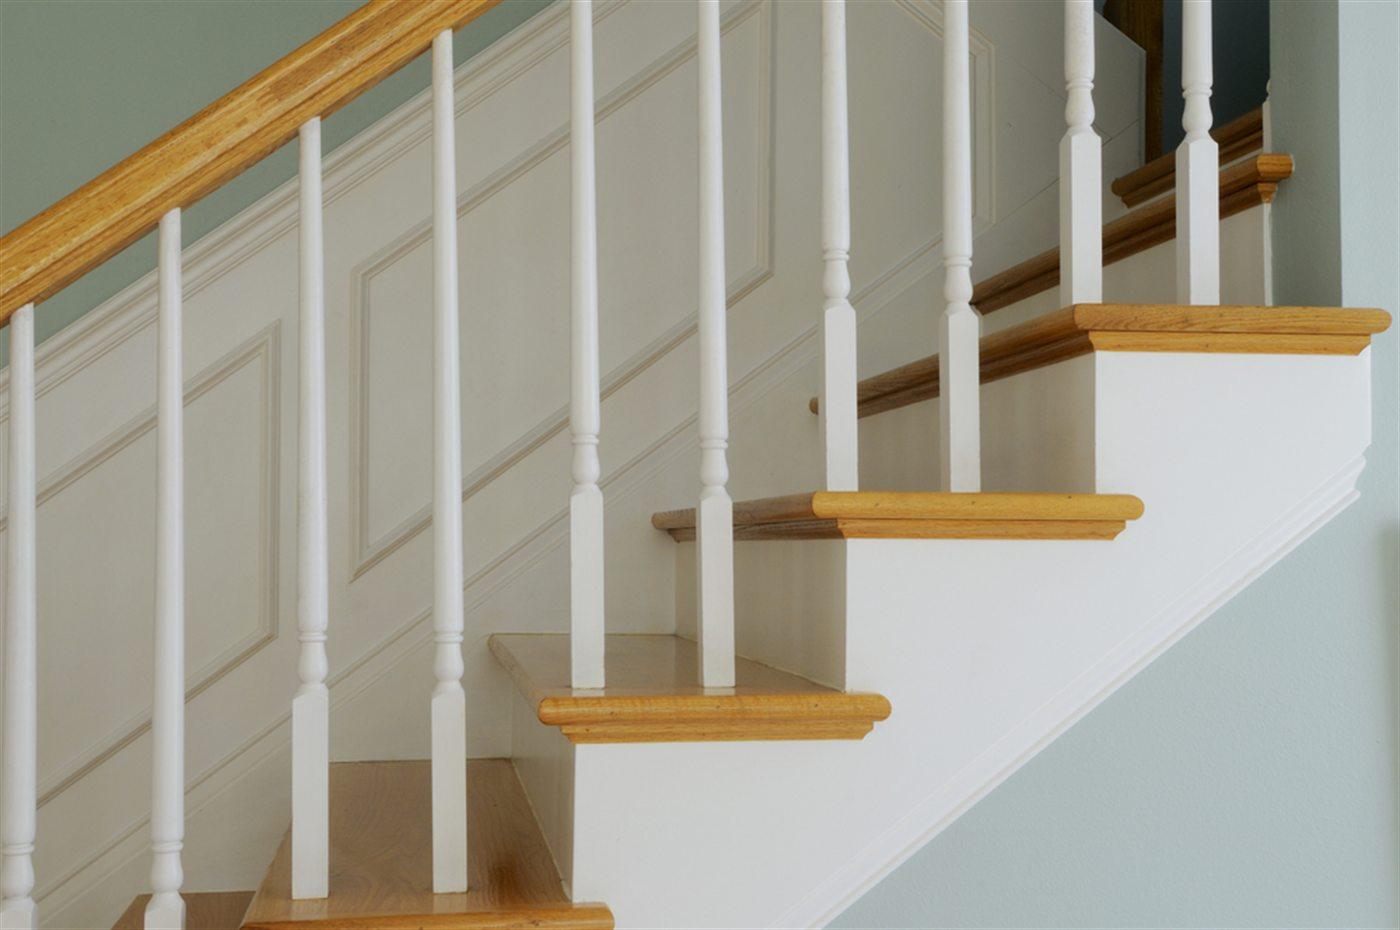 Guide + PDF
Wood Baluster Installation Guide
Two systems, one guide — turned balusters (UW-5015 / 5060 / 5160 / 5360) with the dowel-into-mortise method, and square balusters (UW-4500 / 4504 / 4505) with plowed rail + fillet (UW-6006). IRC spacing math, rake-spacing pitfall, fillet detail, troubleshooting. 16 pages.
Download ↓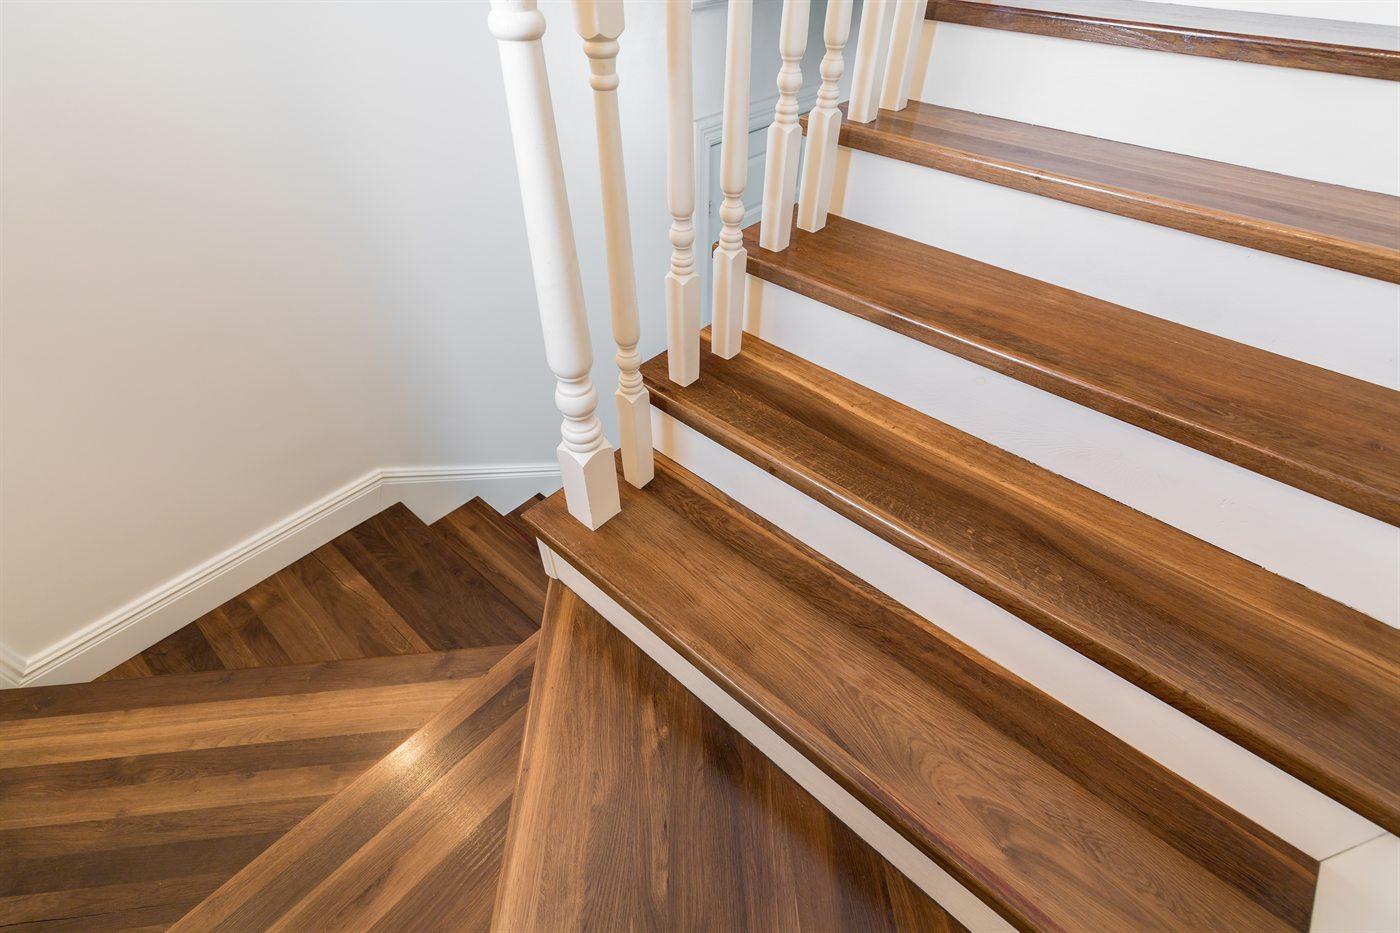 Guide + PDF
Handrail & Newel Installation Guide
Post-to-post wood system — IRC R311.7.8 + R312 code reference, layout with the pitch block, three newel anchor methods, rail-bolt joinery, returns, fittings, and field troubleshooting. 17 pages.
Download ↓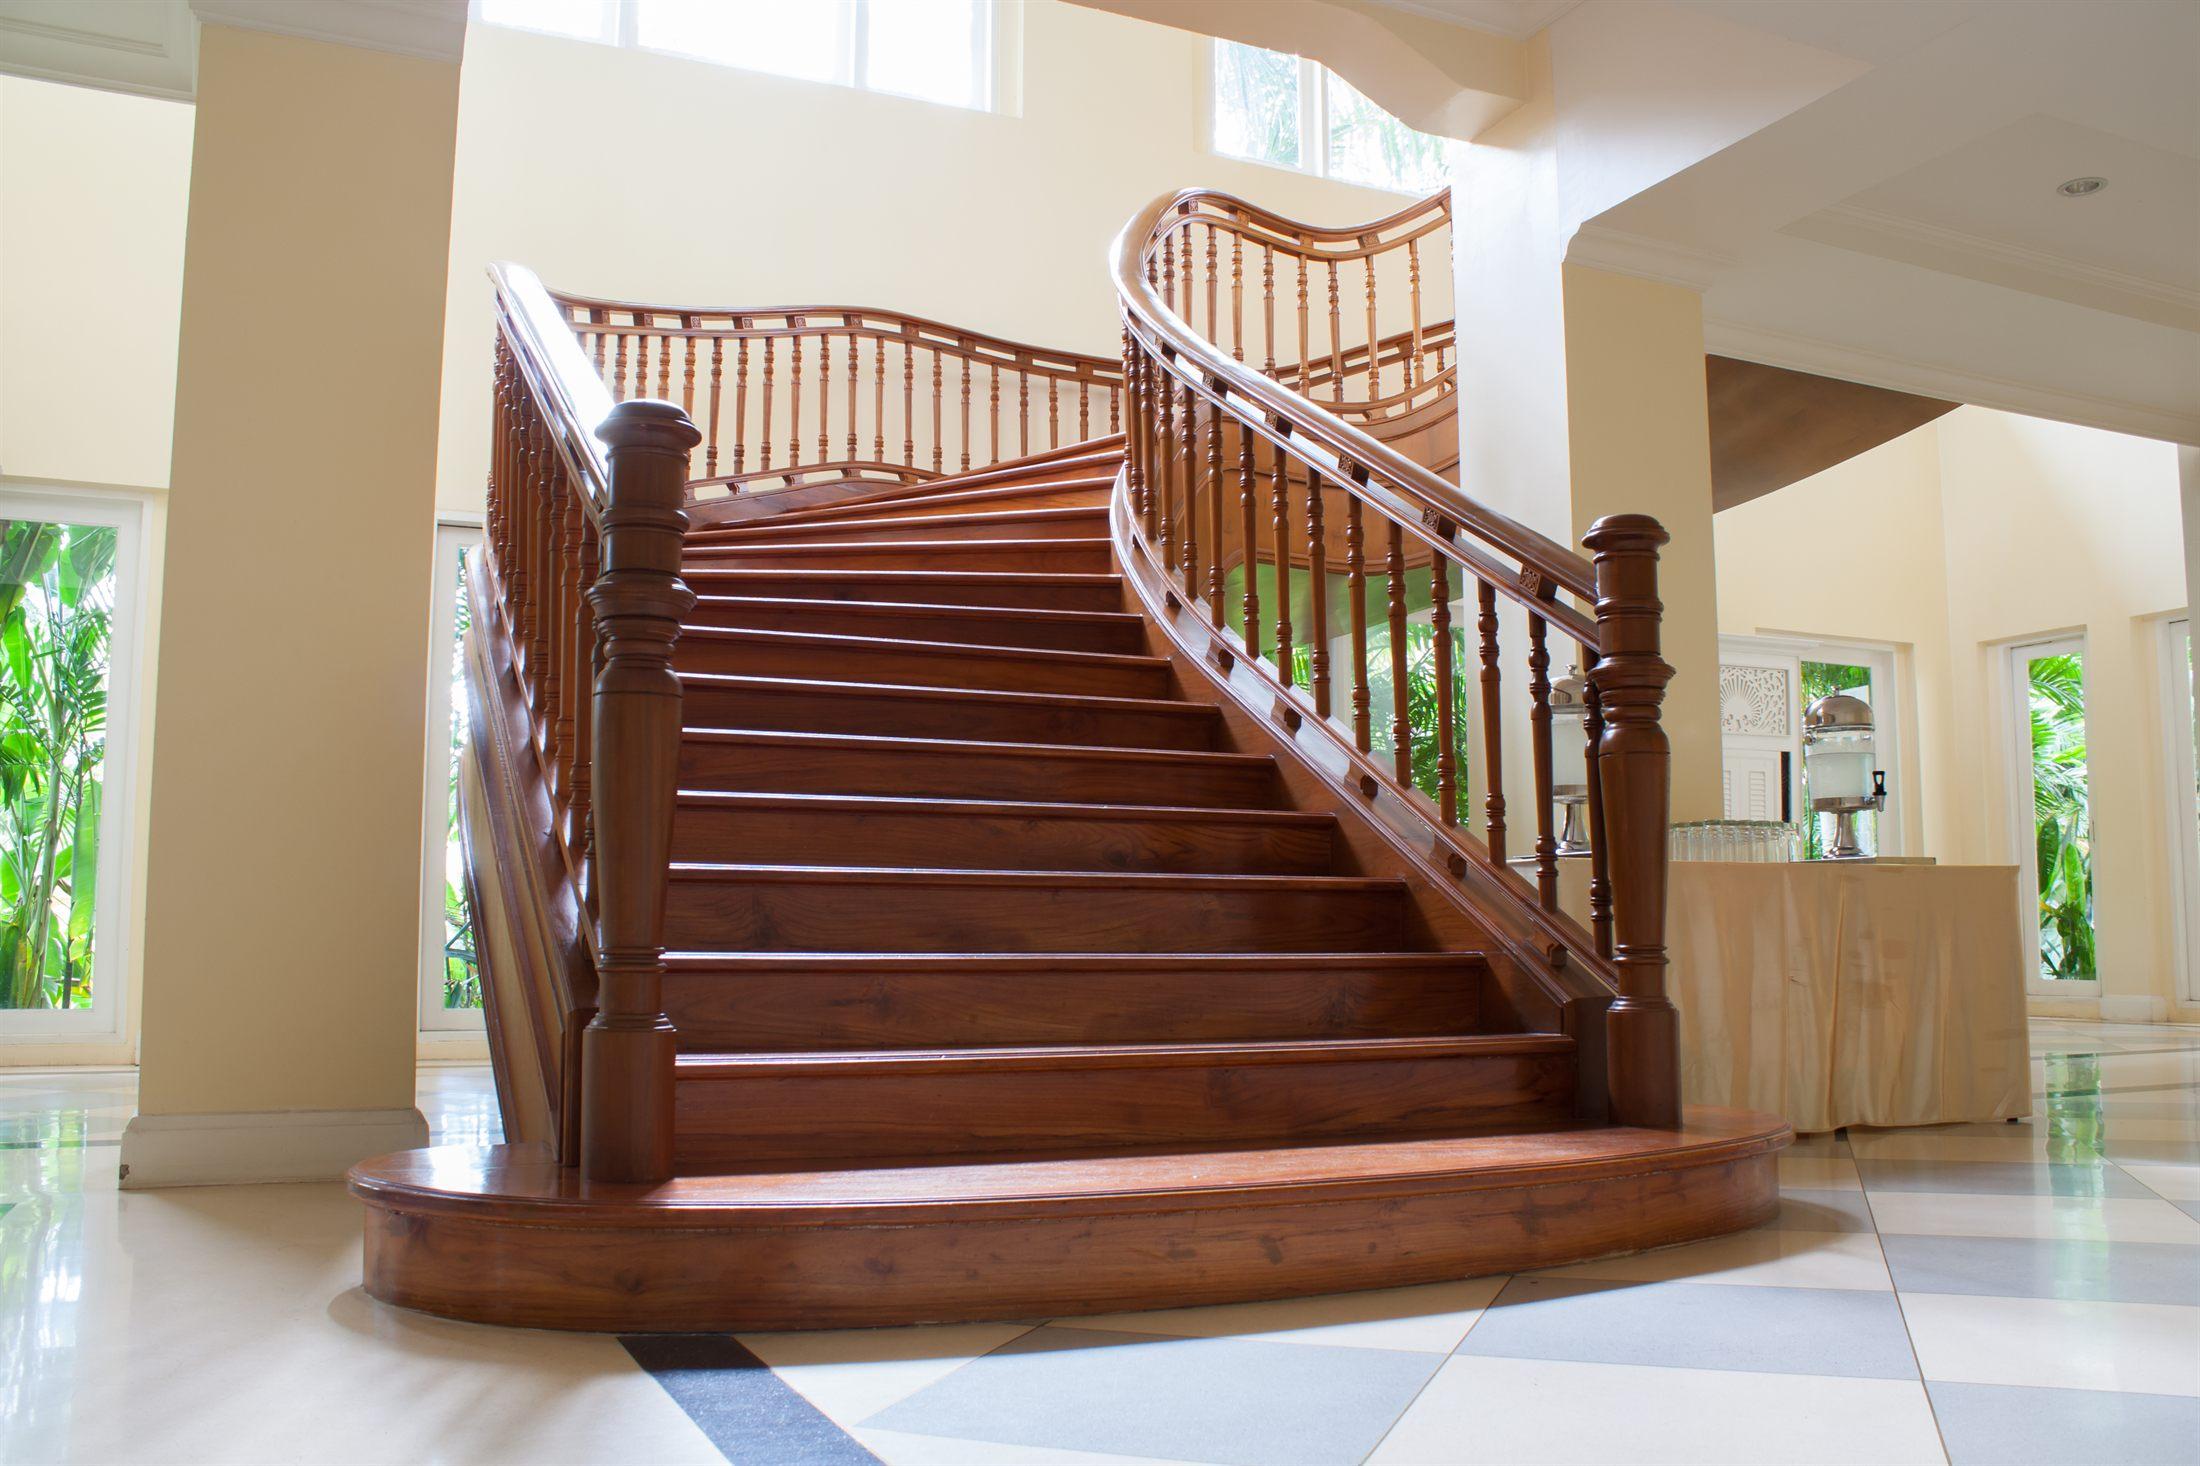 Guide + PDF
Over-the-Post Installation Guide
The continuous-handrail system — pin-top newels (UW-4042 / 4242 / 4046) and the 7000-series fitting program (volutes, easings, goosenecks, quarter-turns, opening caps, rosettes). The four critical cuts, volute layout, fitting-by-fitting install, rail-bolt joinery. 17 pages.
Download ↓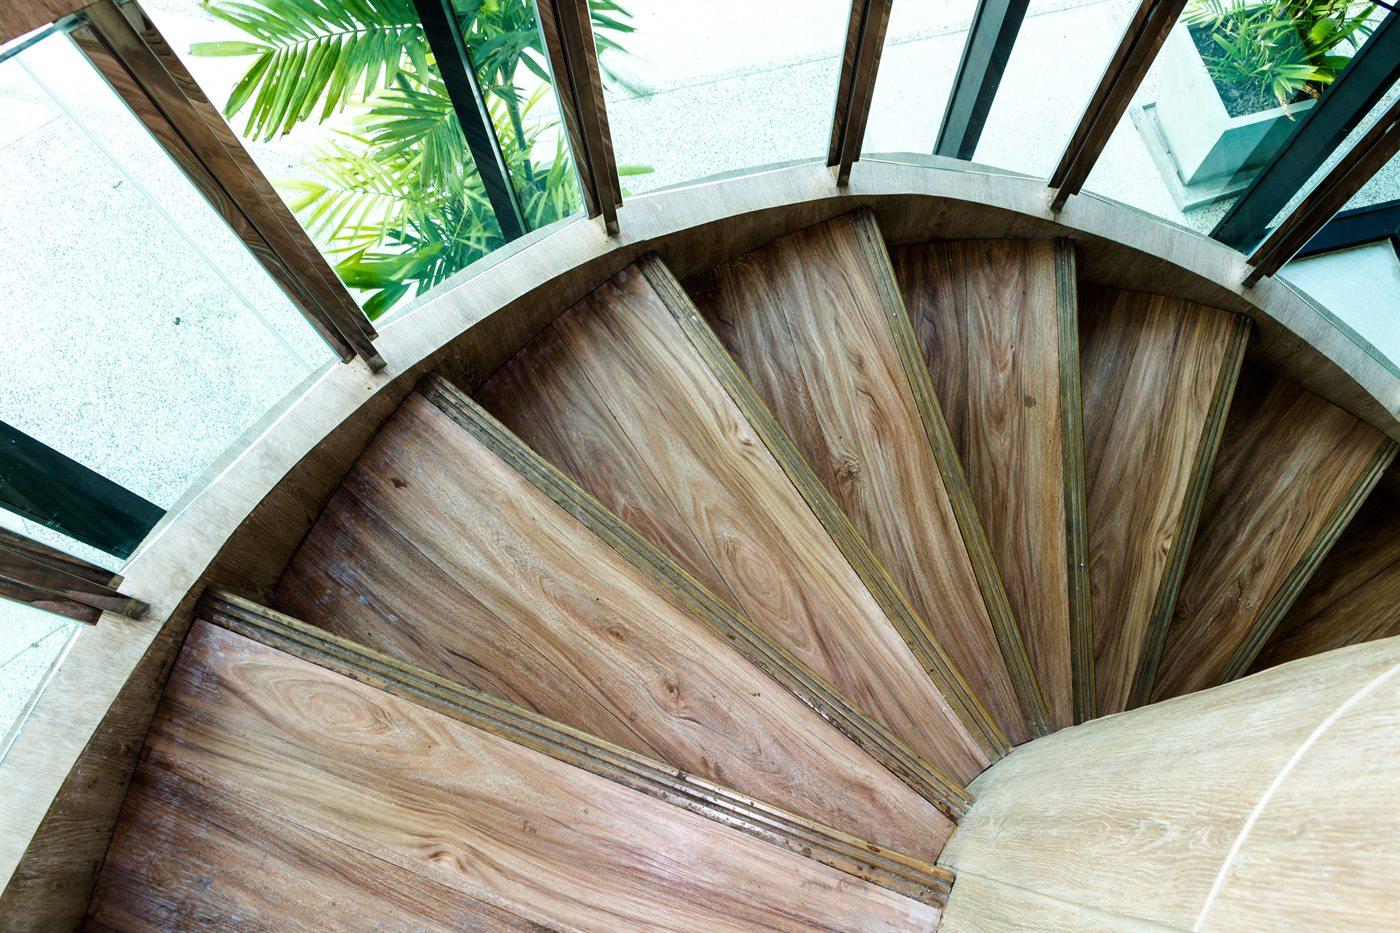 Guide + PDF
Bending Handrail Installation Guide
Pre-engineered kerfed bending rail (UW-6010B / N6210B / 6710B family) — radius tiers, story-stick templating, dry-fit, glue-up + clamp sequence, sub-rail method for tight curves, joining to straight runs, and the UWP shop-laminated upgrade path. 17 pages.
Download ↓Mouldings & Trim
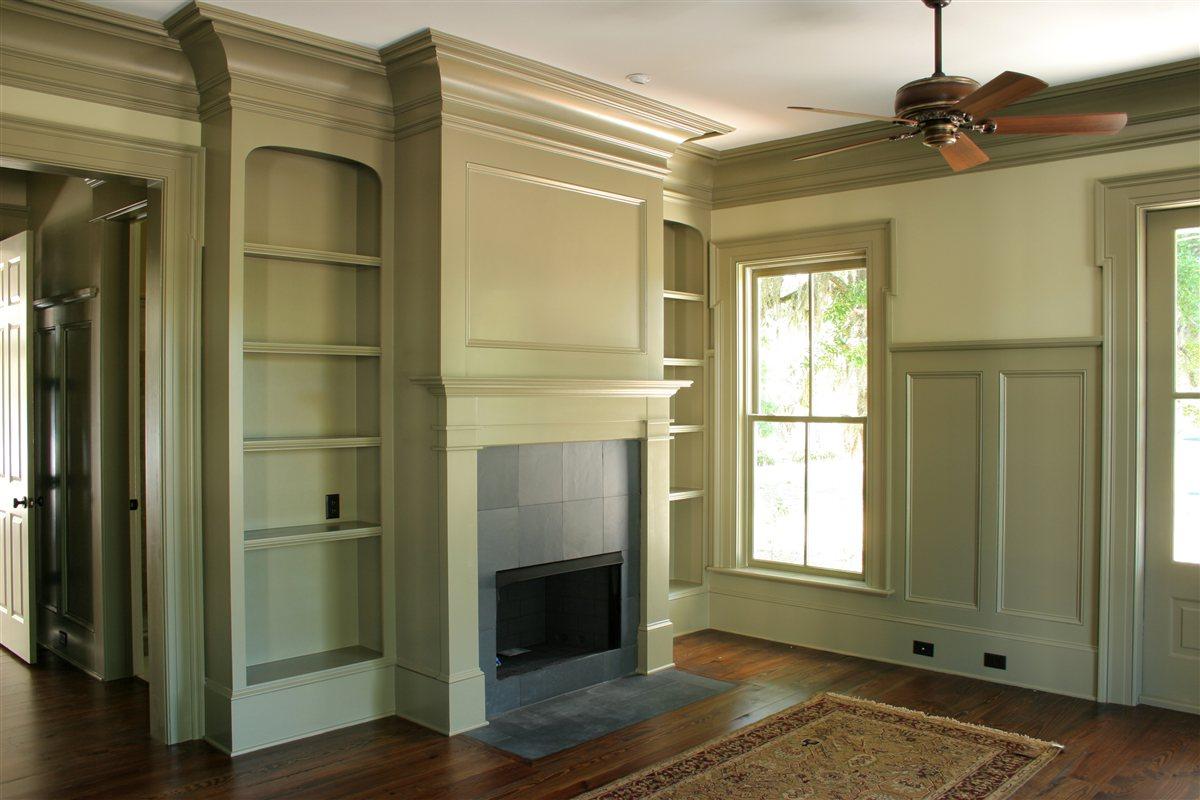
Baseboard, casing, crown, chair rail, shoe, panel mould and transitions in solid hardwood or primed finger-jointed pine.
 Guide + PDF
Moulding & Trim Installation Guide
Measuring, mitering, coping, fastening, and finishing for UWP baseboard, casing, crown, chair rail, shoe, and transitions.
Download ↓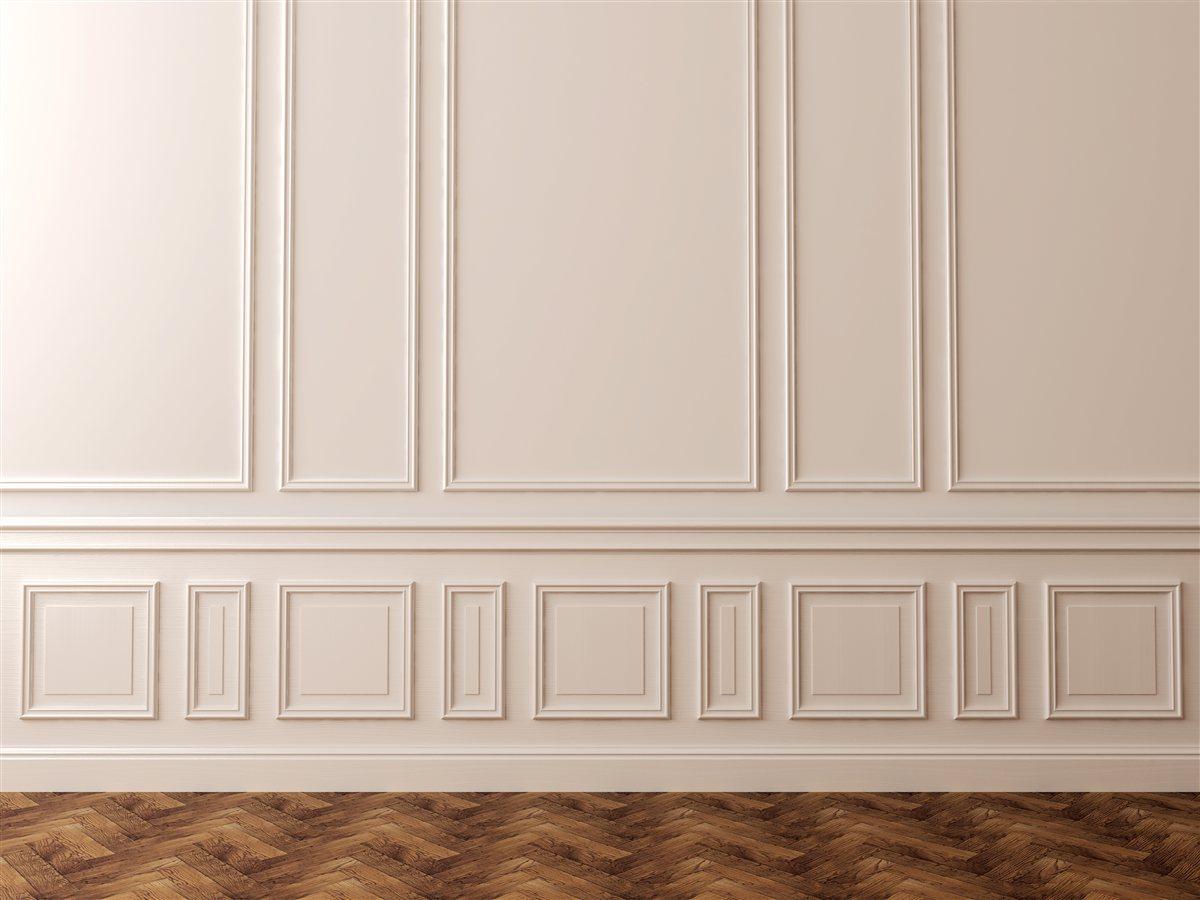 Guide + PDF
Wainscoting & Panel Installation Guide
Picture-frame (shadow-box) wainscoting paired with the UWP Wainscoting & Panel Calculator. Anatomy + four-systems comparison (picture-frame / raised-panel / board-and-batten / beadboard), heights & proportions, panel-divide math, install sequence (baseboard → chair rail → panel mouldings), special cases, paint-grade finishing. 17 pages.
Download ↓- Baseboard Height Guide →Height by ceiling, profile by style, cross-referenced to stock.
- Casing styles →Colonial, Craftsman and modern casing families.
- Crown Moulding Calculator →Linear feet plus compound miter and bevel chart.
- Matching an existing profile →When a stock profile matches and when a knife is ground.
Wood Countertops
Wide-plank, edge-grain and end-grain butcher block. Acclimation and expansion-hole fastening are the two rules that matter.
A question the manual did not answer?
Call the mill from the site. The people who wrote the manuals mill the parts, and a five-minute call beats a return trip.
Questions that come up on these details
How do I install hardwood stair treads?
A confident DIYer can install a hardwood stair tread retrofit in a weekend. The sequence: pull carpet and staples, prep the substrate flat and quiet, acclimate the treads for 5 to 7 days, dry-fit each tread, glue with a urethane construction adhesive, fasten with stainless trim screws (countersunk), plug, sand, and finish. Risers go in before treads on a full build; after, on a retrofit.
Read the answer →How do I acclimate hardwood before installing it?
Acclimate hardwood by stacking the material in the install space — not the garage, not the porch — for 5 to 7 days before installation. The room must be HVAC-conditioned at typical living temperature and humidity. The wood reaches equilibrium moisture content with the room and will not move significantly after install. Skipping this step is the #1 cause of post-install gaps, cupping, and squeaks.
Read the answer →How do I fix squeaky stairs?
Squeaky stairs are usually caused by wood components rubbing against each other or against loose fasteners — most often the tread-to-riser joint or the tread-to-stringer connection. Fix from below if your stairs have open underside access (basement stair), or from above by screwing through the tread into the riser and plugging the holes. Severe or widespread squeaks usually mean a re-tread job.
Read the answer →What trim goes where? A room-by-room guide.
Trim choice should read as a consistent system across the house, not a room-by-room patchwork. Baseboard and casing run everywhere, sized to ceiling height and door scale. Crown is reserved for formal rooms in traditional homes and skipped in modern ones. Chair rail and panel mould go in formal dining and entry. Stair trim ties the upstairs and downstairs together.
Read the answer →