

6 mil Clear Poly Sheeting
6MILPOLYMoisture Barrier · Flooring Over Concrete
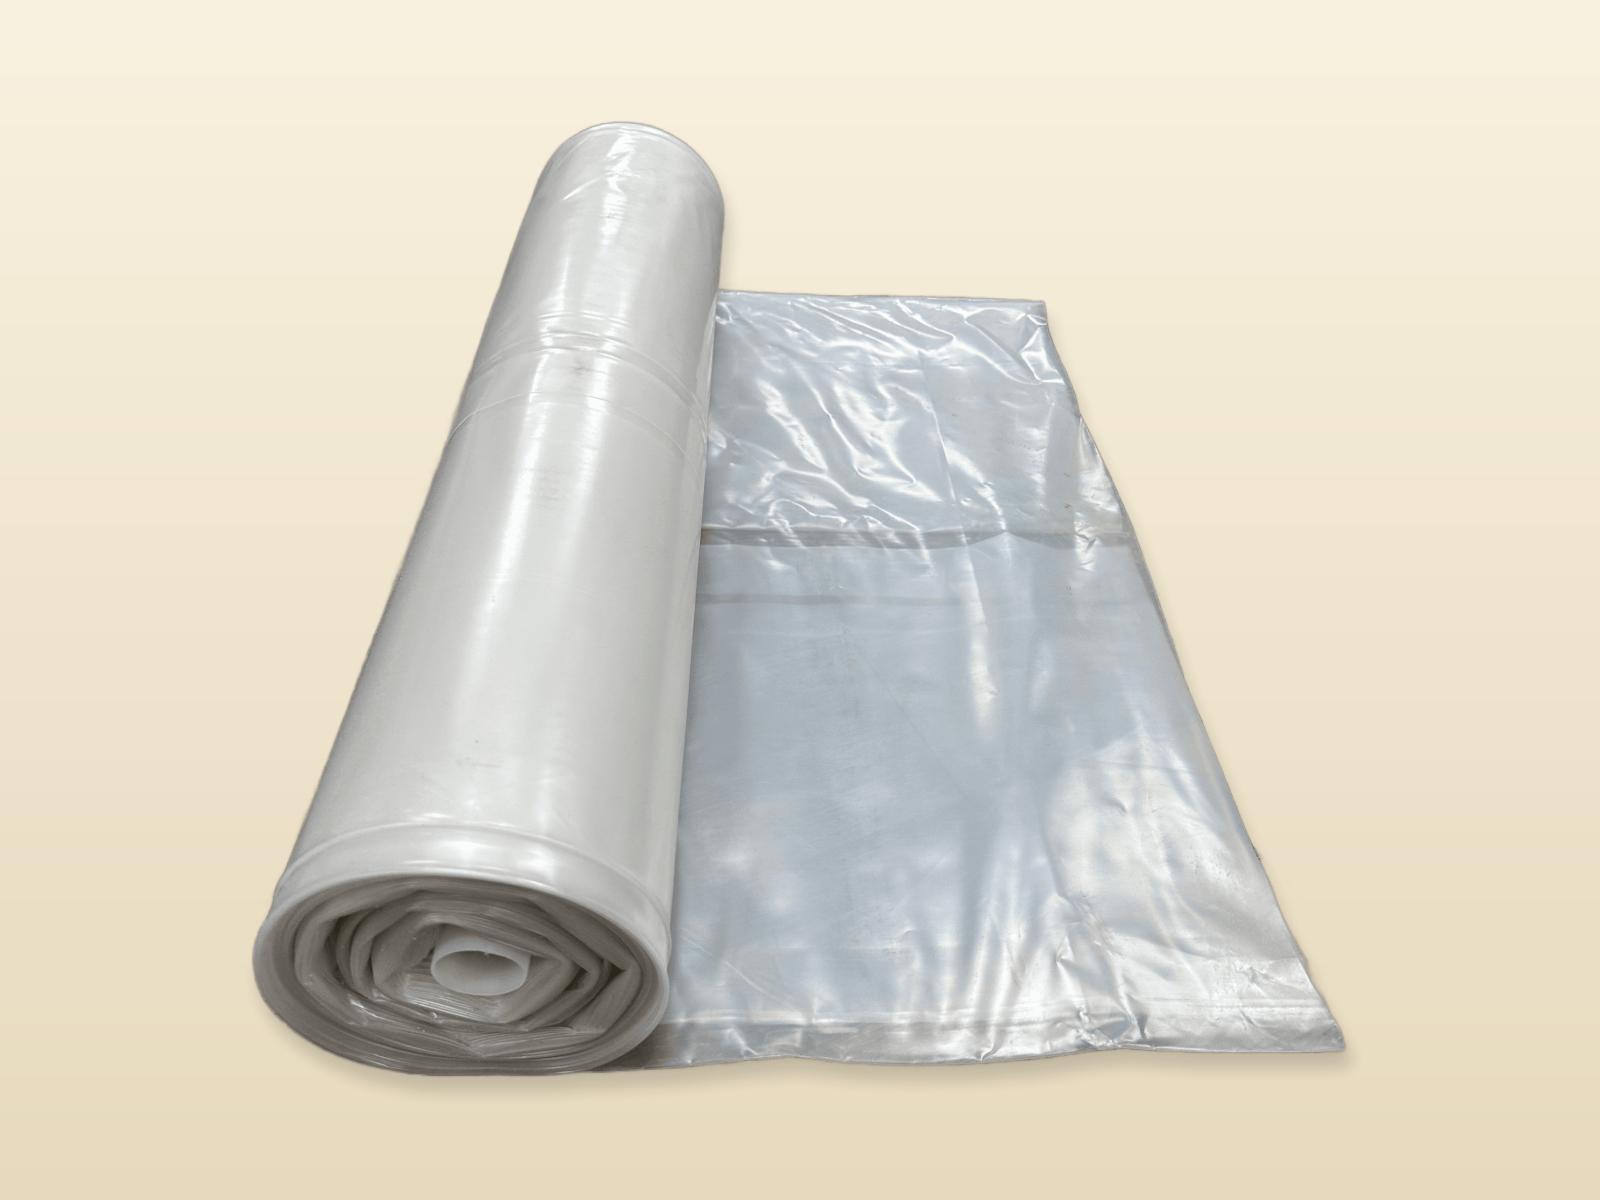
Heavy-duty 6 mil poly. One roll, one room.
Heavy-duty 6 mil clear polyethylene sheeting for moisture protection under floors. One 10 ft × 100 ft roll covers 1,000 sq ft with minimal seams — ideal for floating-floor installs over concrete and slab-on-grade subfloors. Pair with the 3 mm EVA Padding when sound dampening is also required.
- ·Clear polyethylene · 6 mil
- ·10 ft × 100 ft per roll
- ·1,000 ft² coverage
- ·Heavy-duty · res. & commercial
Built for slab-on-grade.
Continuous 6 mil polyethylene sheet blocks the migration of moisture and water vapor from a concrete subfloor into the finished floor above.
A single 10 ft × 100 ft roll covers an entire room with minimal seams — fewer overlaps, fewer points of failure.
Tough 6 mil gauge resists tearing during install. Suitable for residential and light commercial work over concrete, slab-on-grade, and OSB.
Technical data.
Packaged as 6MILPOLY. One roll covers a standard 1,000 ft² room with minimal seams. Tolerances are nominal and subject to manufacturing variance.
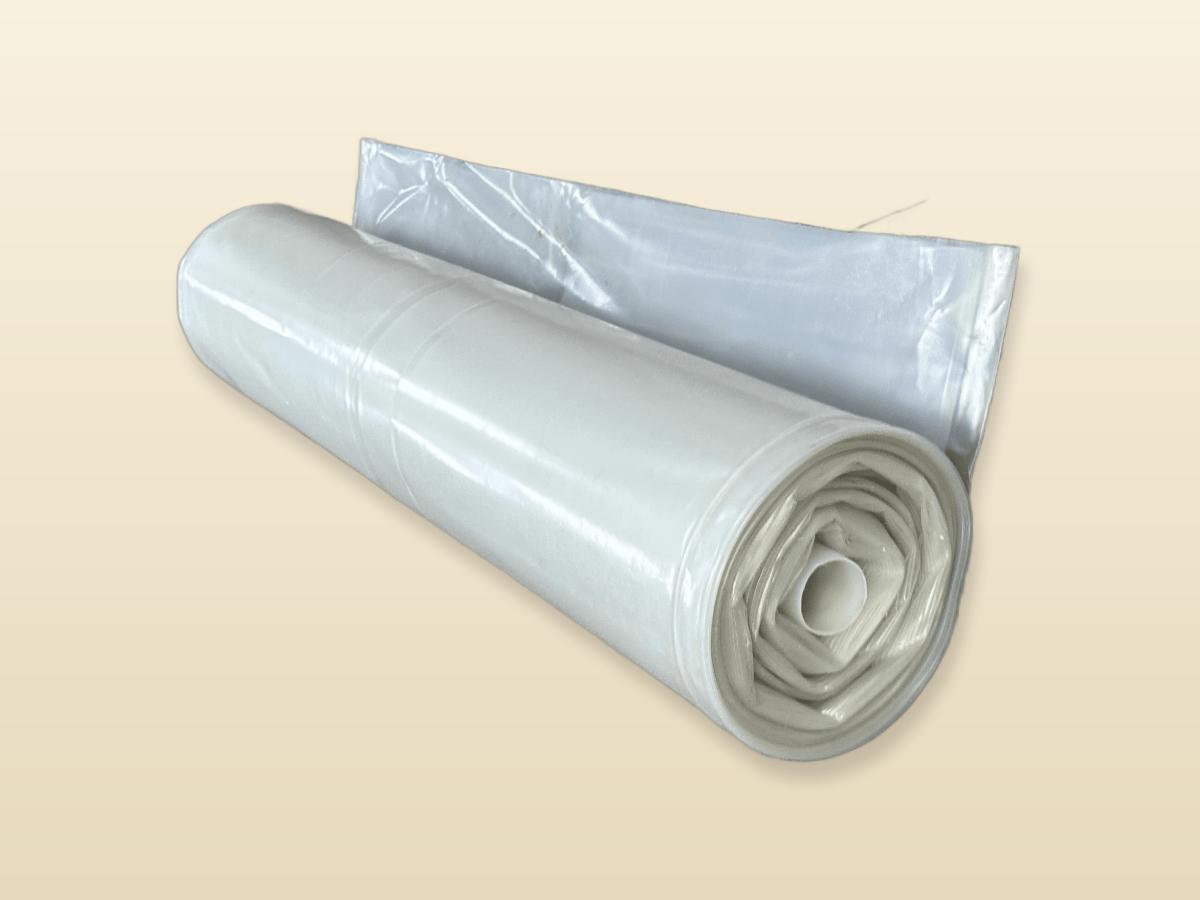
10 ft × 100 ft · 1,000 ft² · 28.7 lb
How to install.
6MILPOLY is designed for floating-floor installations over concrete, slab-on-grade, or OSB subfloors. The sheet acts as a continuous moisture barrier — the more carefully every seam and edge is sealed, the better the barrier performs.
Confirm subfloor moisture readings meet the finished-floor manufacturer’s tolerance. Acclimate the finished flooring per its specification before laying the barrier or the finished floor.
- ·6 mil polyethylene sheeting (6MILPOLY)
- ·Utility knife or scissors
- ·Seam tape (waterproof / poly tape)
- ·Tape measure & chalk line
- ·Broom and / or shop vac
- 01Prepare the subfloor.
Sweep and vacuum the slab. Patch cracks and grind any high spots so the surface is dry, level, and free of debris. Confirm moisture readings meet the finished-floor manufacturer’s tolerance.
- 02Roll out the first run.
Unroll the sheet wall-to-wall along the longest dimension of the room. Run the sheet up the walls 2–3 in. for trim coverage; it will be trimmed flush after the floor is installed.
- 03Cut to length.
Score with a utility knife along a straightedge and snap the sheet to length. Leave 6 in. of overlap onto the next run — never a butt seam.
- 04Overlap and tape every seam.
Overlap the next run 6 in. onto the first. Tape every seam continuously with waterproof poly tape so the barrier reads as one continuous sheet.
- 05Install the finished floor.
Lay the finished floor over the barrier per the floor manufacturer’s instructions. Trim wall flashing flush after the floor is in.
When properly installed and used under normal conditions, this product is warranted to remain functional for a period equal to the warranty term of the finished flooring installed above it.
Questions people ask about the floor going over this
How do I install SPC flooring?
SPC installs as a click-lock floating floor over almost any substrate. The sequence: confirm the subfloor is flat (within 3/16″ over 10 feet), acclimate the planks 48 hours, lay an underlayment if needed, click planks together starting at the longest wall, leave a 1/4″ expansion gap at every wall and obstruction, finish with baseboard or quarter round. Most rooms install in a weekend.
Read the answer →Click-lock vs. glue-down flooring — which installation method should I choose?
Click-lock floats over the subfloor with no adhesive — fast to install, easy to remove for repair, but slightly hollow underfoot. Glue-down bonds the floor directly to the subfloor — feels more solid, transmits less sound, lasts longer, but is far harder to repair or replace and requires a perfect substrate. Pick click-lock for fast residential installs; glue-down for commercial and premium residential.
Read the answer →Can I use wood flooring over radiant heat?
Yes, wood flooring works over radiant heat — but with specific rules. Engineered hardwood is strongly preferred over solid; narrower planks (5″ or less) are safer than wide planks; quarter-sawn cuts move less than plain-sawn; floor temperature must stay under 80°F at the wood surface. Install with proper acclimation and a slow heat ramp-up. Solid hardwood is possible but requires careful species selection and width discipline.
Read the answer →How do I acclimate hardwood before installing it?
Acclimate hardwood by stacking the material in the install space — not the garage, not the porch — for 5 to 7 days before installation. The room must be HVAC-conditioned at typical living temperature and humidity. The wood reaches equilibrium moisture content with the room and will not move significantly after install. Skipping this step is the #1 cause of post-install gaps, cupping, and squeaks.
Read the answer →