

Mapei Novoplan 2 Plus
Self-Leveling UnderlaymentFloor Prep
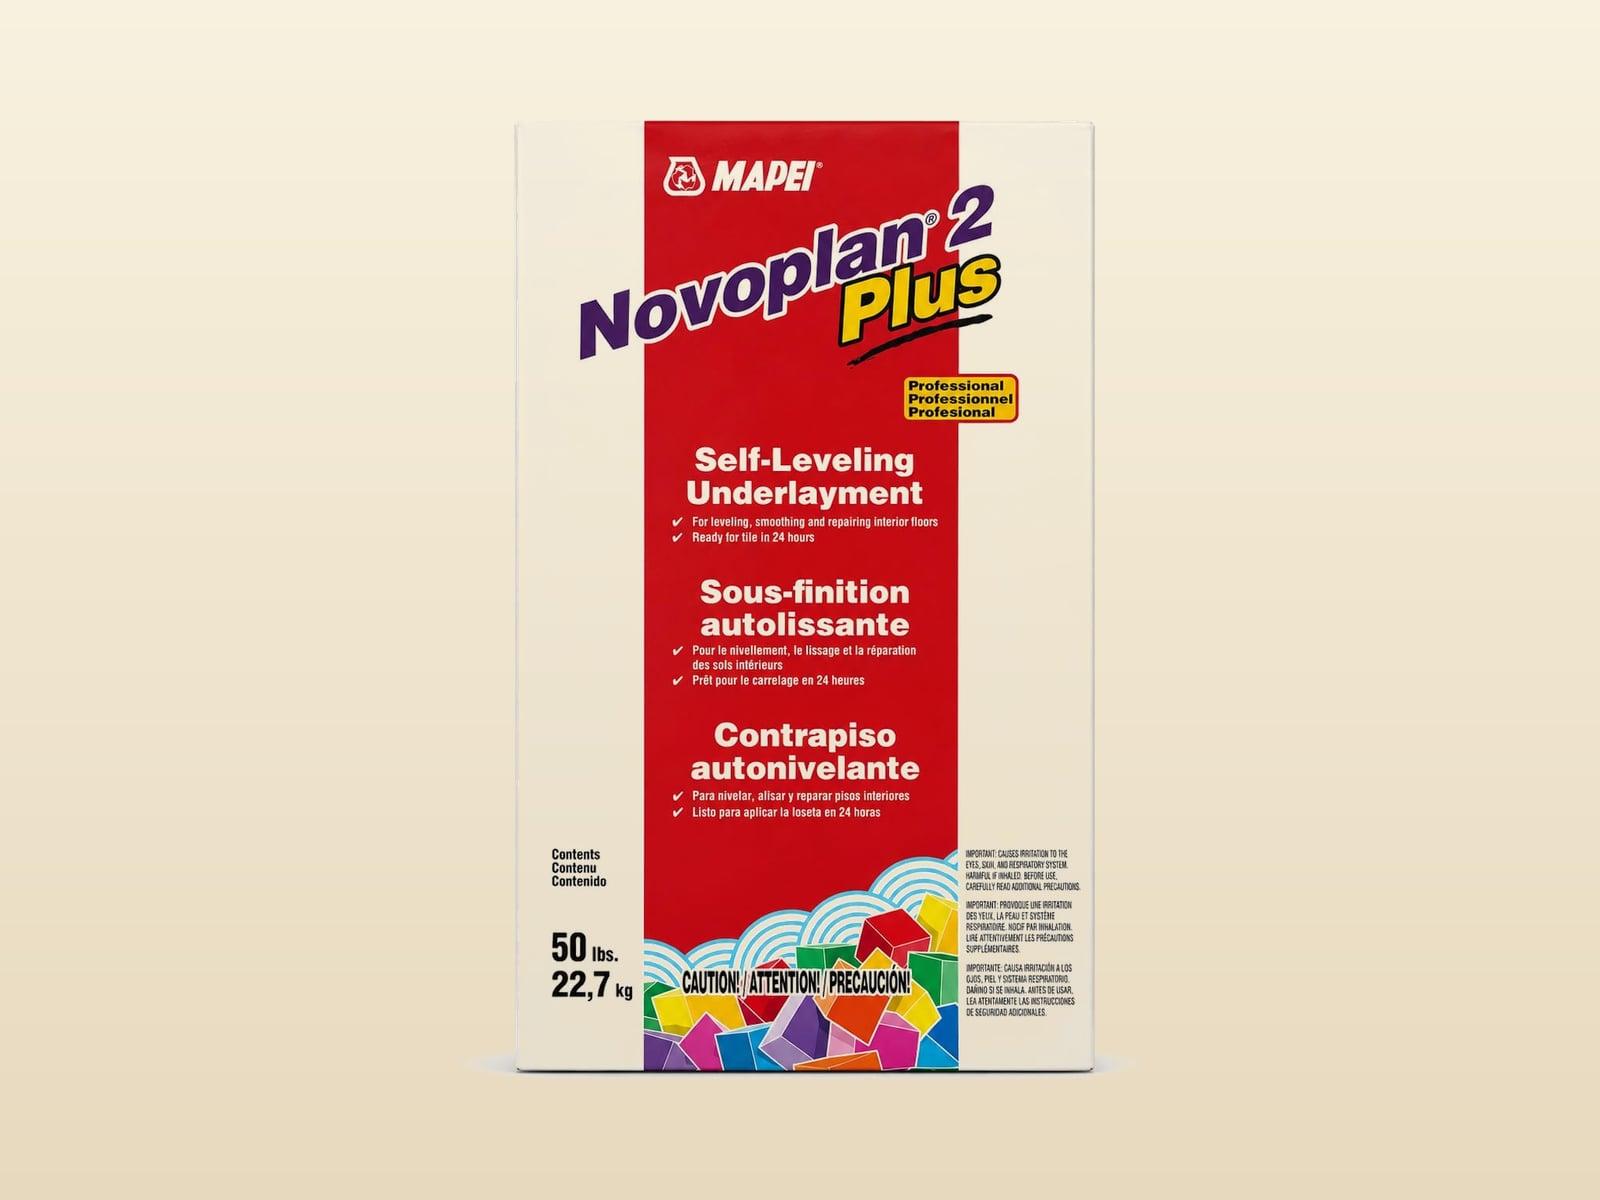
Pour it. Let it find level. Lay the floor.
Novoplan 2 Plus is Mapei's high-strength, polymer-modified self-leveling underlayment for interior concrete and engineer- approved wood subfloors. Mixed with water, it pours to a fluid, self-leveling consistency that flows out to a smooth, flat, high-compressive-strength base — feather edge to 1″ in a single pour, ready for tile in about 24 hours. Stocked at the Tanner Rd yard for the trade.
- ·Feather edge to 1″
- ·> 4,200 psi at 28 days
- ·Tile install in ~24 hours
- ·Meets ASTM F710 · F2873
Built for big pours.
Mixes to a fluid, pumpable, self-leveling consistency that flows out to a smooth, flat surface. One pour from a true feather edge up to 1″ thick.
Cement-based and polymer-modified to deliver > 4,200 psi compressive and > 1,050 psi flexural strength at 28 days — a structural base for the finished floor.
Ready to accept most floor coverings in as little as 24 hours. Keeps tile and flooring crews moving on the day after the pour.
Technical data.
Specifications per Mapei's technical data sheet. Tolerances are nominal and subject to manufacturing variance. Always refer to the current Mapei TDS and SDS before installation.
What it goes over.
- ·Concrete · slab-on-grade and suspended
- ·Engineer-approved wood subfloors (APA-rated plywood)
- ·Cement terrazzo
- ·Existing well-bonded ceramic tile
- ·Cutback adhesive residue (properly prepared)
What goes on top.
- ·Ceramic and porcelain tile
- ·Natural stone
- ·Engineered hardwood
- ·Luxury vinyl plank / tile (LVP / LVT)
- ·Sheet vinyl and VCT
- ·Carpet and carpet tile
Confirm the substrate is structurally sound, clean, dry, and free of contaminants that could break the bond. Prime concrete with Mapei's Primer T (porous) or Primer L (dense) per the current Novoplan 2 Plus TDS. Wood subfloors require lath or other reinforcement — see Mapei's wood-subfloor specification.
Novoplan 2 Plus by the 50 lb bag — pulled at the Tanner Rd yard.
Questions people ask about the floor going over this
How do I install SPC flooring?
SPC installs as a click-lock floating floor over almost any substrate. The sequence: confirm the subfloor is flat (within 3/16″ over 10 feet), acclimate the planks 48 hours, lay an underlayment if needed, click planks together starting at the longest wall, leave a 1/4″ expansion gap at every wall and obstruction, finish with baseboard or quarter round. Most rooms install in a weekend.
Read the answer →Click-lock vs. glue-down flooring — which installation method should I choose?
Click-lock floats over the subfloor with no adhesive — fast to install, easy to remove for repair, but slightly hollow underfoot. Glue-down bonds the floor directly to the subfloor — feels more solid, transmits less sound, lasts longer, but is far harder to repair or replace and requires a perfect substrate. Pick click-lock for fast residential installs; glue-down for commercial and premium residential.
Read the answer →Can I use wood flooring over radiant heat?
Yes, wood flooring works over radiant heat — but with specific rules. Engineered hardwood is strongly preferred over solid; narrower planks (5″ or less) are safer than wide planks; quarter-sawn cuts move less than plain-sawn; floor temperature must stay under 80°F at the wood surface. Install with proper acclimation and a slow heat ramp-up. Solid hardwood is possible but requires careful species selection and width discipline.
Read the answer →How do I acclimate hardwood before installing it?
Acclimate hardwood by stacking the material in the install space — not the garage, not the porch — for 5 to 7 days before installation. The room must be HVAC-conditioned at typical living temperature and humidity. The wood reaches equilibrium moisture content with the room and will not move significantly after install. Skipping this step is the #1 cause of post-install gaps, cupping, and squeaks.
Read the answer →